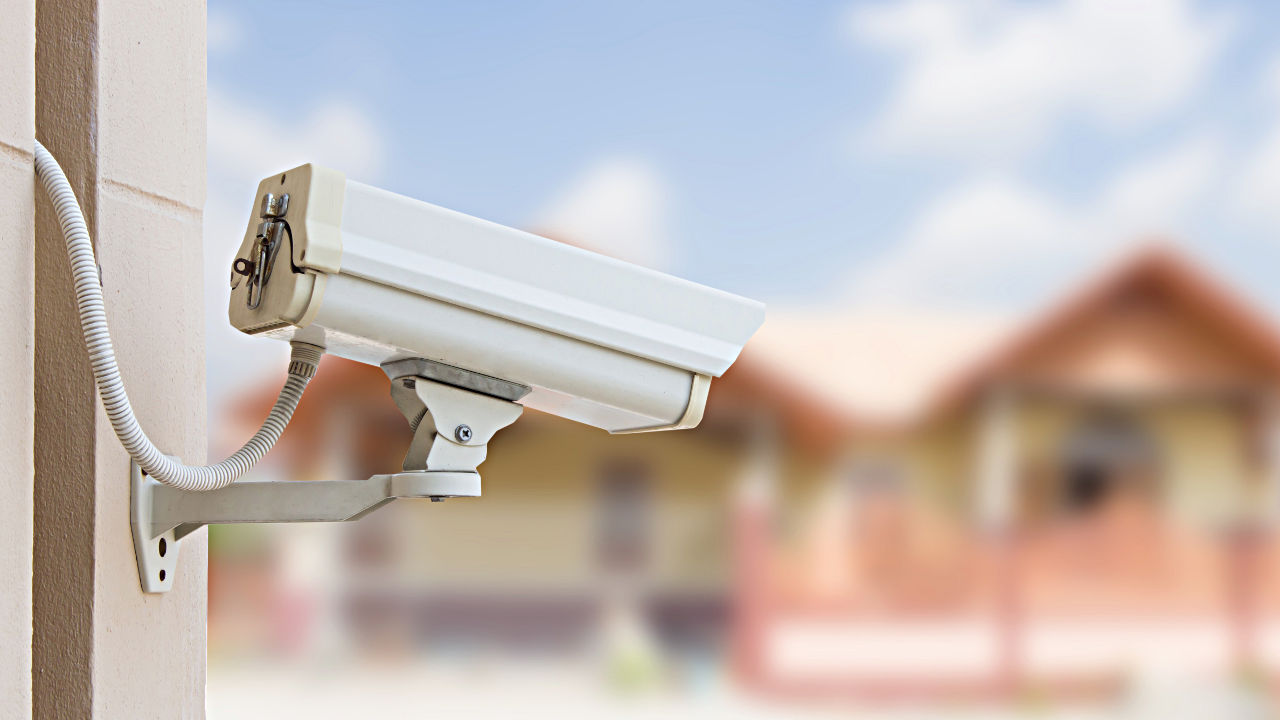
It’s 2019 and setting up your surveillance system doesn’t have to be rocket science. Read on to find out how in a few simple steps How to set up a home surveillance system.
When you’ve decided you need to be more secure and head over to your local store, having this guide will help you immensely.
Step 1: Choose the right camera with the right features as you set up a home surveillance system

First of all to set up a home surveillance system, you should budget for 1-3 cameras — which you can buy individually or together as a package (this is better) — a DVR (digital video recorder), appropriate cables, and power cords.
About the Cameras
First, what kind of Cameras do you want?
Most home security cameras perform the same basic functions – they detect an event, record the event and send you an alert – but they don’t all do it in the same way. Also, there are those that record only when motion is detected and those that record constantly (like CCTV).
There are also those with Wi-Fi only and those which also have Bluetooth. It’s a lot easier to set up a camera with Bluetooth since you don’t have to switch between Wi-Fi networks. And with some cameras, you don’t need to enter your Wi-Fi details at all because they’re taken straight from your phone.
Top features when choosing a camera for home surveillance.
- Wireless vs. Wired: Wireless cameras are easy to set-up without drilling or running cables through your house, but the quality can be sub-par the further they get away from the receiver. If you are covering a big area, go wired.
- Indoor or Outdoor: Cameras that are not made to be placed outside will quickly break when exposed to rain and humidity, so choose accordingly.
- Motion Sensing: Some cameras will only record when they notice motion, saving lots of space and energy while only capturing footage when someone is in the room.
- Remote Viewing: Many high-end cameras offer the ability to stream their footage to your phone or laptop anywhere in the world, making it possible to check out your house through a provided program or app.
- Cloud Recording: Many manufacturers now offer cloud-storage plans with their camera. They record video to a server in the cloud and store it for anything from 24 hours to a couple of weeks. Sometimes offered free, these cloud plans typically require a monthly subscription, but may be worth buying for their convenience.
- Alerts: You should get notifications on your phone when the camera detects an event.
- Local Storage via SD or internal memory: Some cameras include memory card slots so you can store video on the device. Cool, but if a thief steals your camera they take the evidence with them.
- Mobile App: All the latest cameras can be accessed via a smartphone or tablet app just only to customise notifications, adjust motion and sound detection sensitivity, and set detection areas via the web portal but not bad.
- Night Vision: Every camera will switch to night vision automatically in low-light conditions, and most allow you to customise when and how it should be activated. This won’t work through windows, where you’ll see a reflection of the LEDs – that’s why you need an outdoor camera to monitor your garden or driveway.
- Good Resolution: No amount of security video will help you if it’s blurry or otherwise distorted. Look for a camera that offers the highest possible resolution. However, note that most 1080p cameras will reduce the quality to 720p in order to upload it to the cloud, so it’s not the advantage you might think. In most cases, it’s only 1080p cameras with local storage benefit from the extra resolution.
Our choice for best affordable outdoor camera #1:
Hive View Outdoor Security Camera, Weatherproof, Night Vision, WiFi Enabled
Features:
- Automatic night vision – livestream in 1080P hd day or night to your smartphone
- Two-way audio
- Motion detector – get notifications when your camera starts recording
- Built to withstand temperatures of -4°f to +113°f
no longer available on amazon
Our choice for best affordable outdoor camera #2
Reolink Argus 2+Solar Panel | Wireless Rechargeable Battery-Powered Security Camera for Outdoor Home Surveillance, 1080p HD 2-Way Audio Starlight Night Vision with PIR Motion Sensor SD Card Slot
Features
- No Wires and Simple To Install. No need to plug into power ever.
- Vivid 1080p HD and Stunning Night Vision
- Record to SD Card and Cloud Storage
- Live view and playback your camera via your iOS and Android phones or through windows or mac computers with free Reolink app or client, no monthly subscription fee. Only support 2.4G WiFi.
Our choice for best indoor camera
Wyze Cam 1080p HD Indoor Wireless Smart Home Camera with Night Vision, 2-Way Audio, Person Detection
The $25 Wyze Cam Pan is a great camera.
It features HD live streaming, motion alerts, a decent app and 14 days of free motion-based cloud storage. This Wyze camera also features a built-in microSD card if you want to go the local storage route.
Features
- On-device AI person detection.
- 1080P Full HD live stream direct to your smartphone day or night with night vision
- Motion tagging technology detects and outlines motion in both live stream and playback video modes.
- Instant alerts.
- Free, rolling 14-day cloud storage
- Wyze Cam supports local storage of recordings to a micro SD card (sold separately).
- Magnetic base, 6-foot power cable and included adhesive metal plate let you mount your Wyze Cam anywhere – no screws required.
- Works with Alexa and Google Assistant. Field of view: 114 degrees
Step 2: Set up your DVR – Digital Video Recorder
DVR stands for Digital Video Recorder. It’s a device that converts the analog signals from a CCTV camera to digital format, store the information into a hard drive and also send live video stream to other devices on the network. — Wikipedia
This is the device that will receive all the video recorded on the camera in STEP 1 above and display it on the monitor, usually a computer screen or small TV. Just like a flash drive, or a server, DVRs have a variety of memory capacities that allow them to store a certain amount of video, no matter the length. (Same as PVRs, Personal Video Recorders used in recording cable)
Recommended DVRs
TIGERSECU Super HD 1080P H.265+ 8-Channel Hybrid 5-in-1 DVR NVR Security Video Recorder with 1TB Hard Drive, Supports Analog and ONVIF IP Cameras
Features:
- Can record IP cameras compliant with ONVIF 2.0 (+) and analog cameras simultaneously. This hybrid video recorder is compatible with 5 types of security cameras: TVI, AHD, CVI, analog and ONVIF-compliant IP cameras. Not compatible with SDI and Arlo IP cameras.
- PC, Mac, and smartphone users can remotely access and play surveillance footage, and control the home security system with TIGERSECU’s HD Viewer, viewing video online with no contract or monthly fees.
- Allows you to add up to 8 security cameras, making it suitable for homes and businesses for monitoring indoors and outdoors.
- Pre-installed 1TB surveillance rated hard disk drive provides 4+ days of continuous local recording at the highest resolution, with no fees ever. Motion detection. H.265+ high efficiency video compression.
- Supports the recording of audio on 4 channels (1 to 4). Also supports multiple monitor connections, supporting up to 3 display monitors through HDMI/VGA/CVBS ports.
Step 3 — Decide where to set up a home surveillance system
Check for Spots Where Cameras Get a Clear View and Stable Power Source
It is not necessary nor cost effective to mount a camera at every square inch of your house, so you need to prioritize.
- Mount your camera up high, to make sure it gets a clearer and wider view. Cover as many entries as possible using the least number of cameras to save cost.
- Place the security camera in a place that is out of reach of home intruders and thieves, or naughty kids.
- Avoid pointing your camera directly to a light source. Pointing towards the light source would result in a slight underexposure of videos and images captured.
- Put cameras near a power source. Even a wireless video camera needs power supply.
Before you start, plan the security camera wire route, the locations we listed above. Drill holes where the wires will go through, and push all of the ends of the camera cables on the holes you have drilled.

NB: Don’t drill any holes or mount your camera before you’ve set it up and got it working. It’s best to plug it in near your router to start with, then move it to the room or position you want to monitor later. That way you can check there’s a strong enough Wi-Fi signal.
Step 4: Installing your setup, set up a home surveillance system
To recap, first you get your cameras, we recommended 1, 2 and 3 – then get your DVR, then plan your setup, and finally, start installing. This is the most tasking part, but if you’ve followed the above strictly, then you should have no problems.

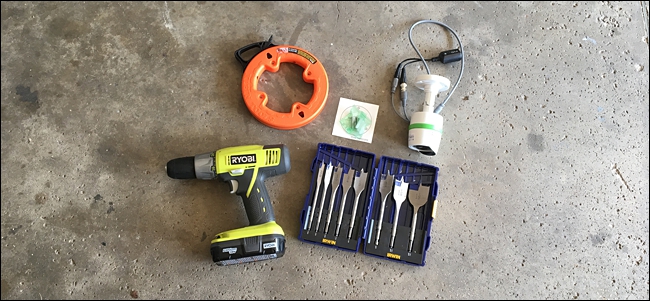
These are the tools you’ll need to install a WIRED camera system:
- Ethernet cable
- Baluns (Converts analog to digital)
- A power drill and a regular drill
- Steel fish tape
- Masking tape
- A monitor, mouse, and keyboard
- A friend to help!
Set up a home surveillance system — for wired systems
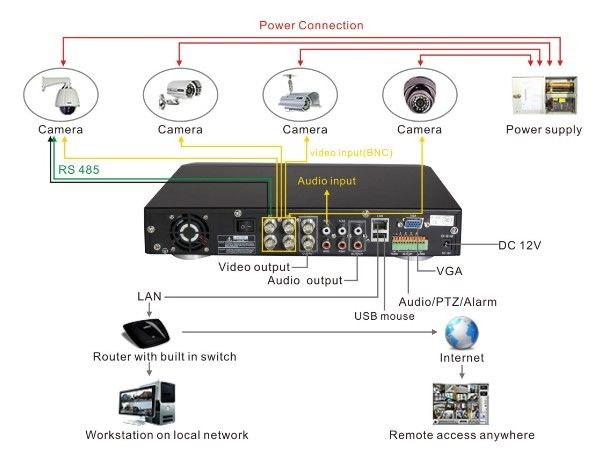
Every system consists of a set of cameras and a DVR box that serves as the user interface for managing the entire system, as well as storing all of the video footage that gets recorded.
Since the cameras directly plug into the DVR box, this means that depending on distance, you’ll need to route the camera’s cable through your house in order to connect it to the DVR box, which can get a bit complicated.
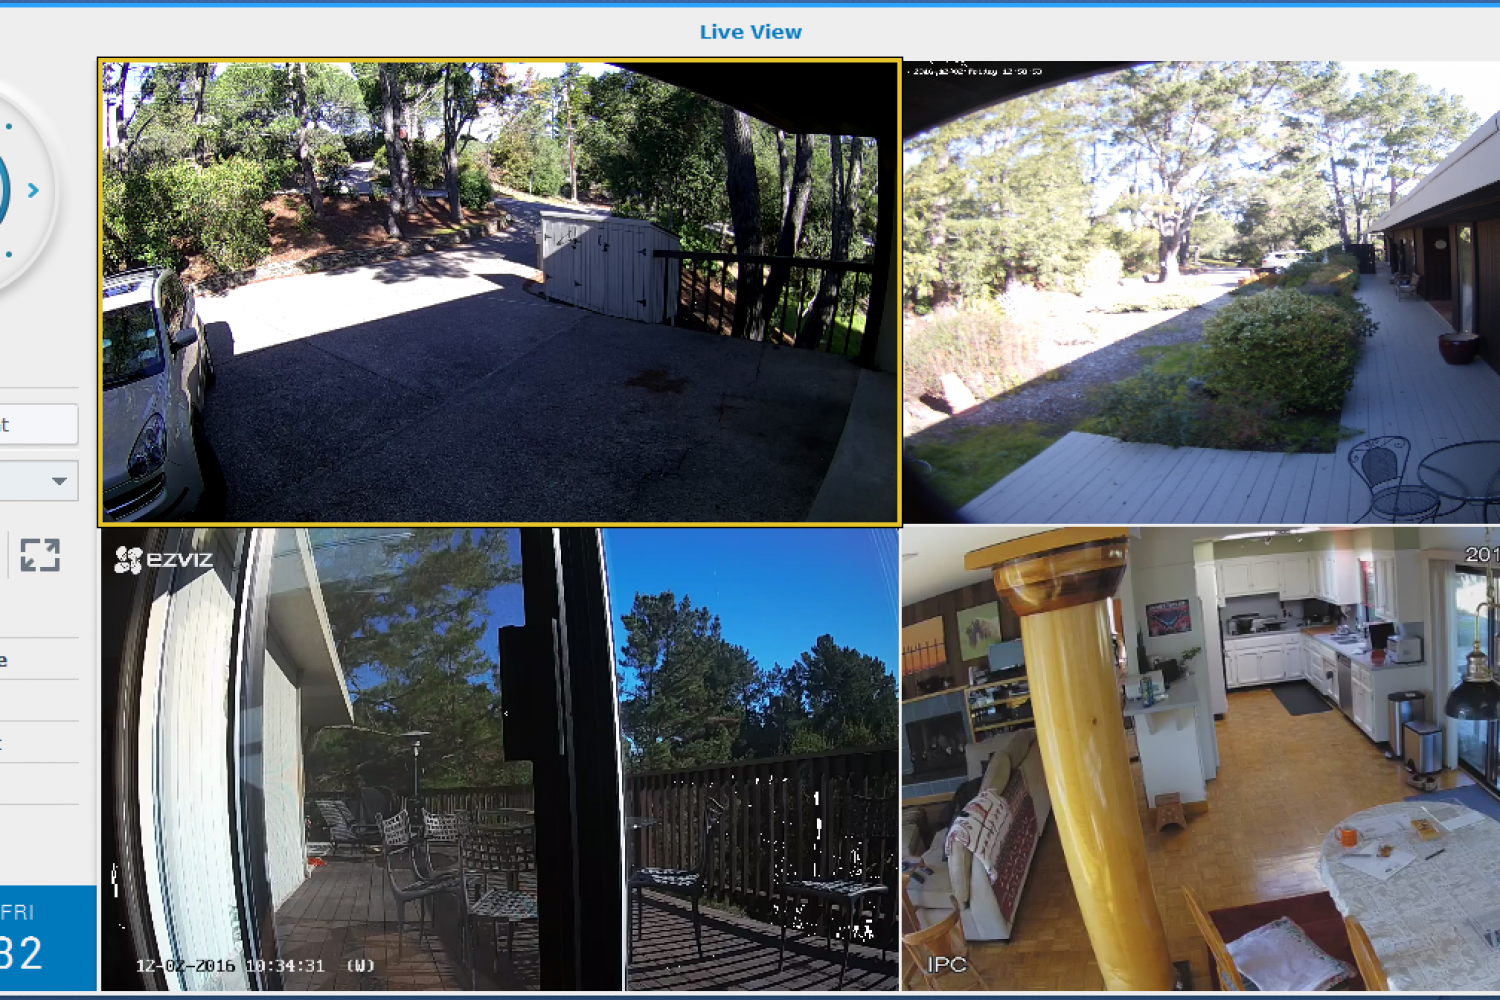
From there, the DVR box gets plugged into a power outlet and then you connect an external monitor to the DVR box to manage the entire system, see a live view of all the cameras, and review past recordings. — Source
Conclusion
Hope you’ve learned now how to set up a home surveillance system. Good luck installing!
Zee
Recommended Links
- https://www.howtogeek.com/307625/how-to-install-a-wired-security-camera-system/
- How to turn a song on iPhone library to a ringtone (iPhone 6,7,8,X and XR)
- How to receive US Dollars with Payoneer in Nigeria
- 100 Ways To Grow Your Email List Subscribers
- 5 Sure Ways to Rank High on Search Engines
- set up a home surveillance system


